- Step 1: Install DriveHub and Connect Google Drive
- Step 2: Set Up File Proofing (Settings)
- Step 3: Create a Review & Approve Module
- Step 4: Choose the Photos to Review (Source Tab)
- Step 5: Choose Which Files Show (Filter Tab)
- Step 6: Choose How Clients Pick Files (Advanced Tab)
- Step 7: Choose Who Can Open It (Permissions Tab)
- Step 8: Save and Add It to a Page
- Step 9: How Your Client Picks and Sends Photos
- Benefits of File Proofing with DriveHub
Do you send clients a folder of photos or designs and then wait for a long email saying which ones they like? With DriveHub, clients can pick their favourites right on your website and send the selection to you with one click.
The Review & Approve module shows the files from a Google Drive folder with a tick box on each one. Your client ticks the files they want, adds a short message and sends it. Every selection lands in DriveHub > Approvals, ready for you to approve or reject. It is super useful for photographers, designers and agencies who need clear, written sign-off.
Note: This needs DriveHub Pro.
Here is an easy, step-by-step guide to help you set it all up!
Step 1: Install DriveHub and Connect Google Drive #
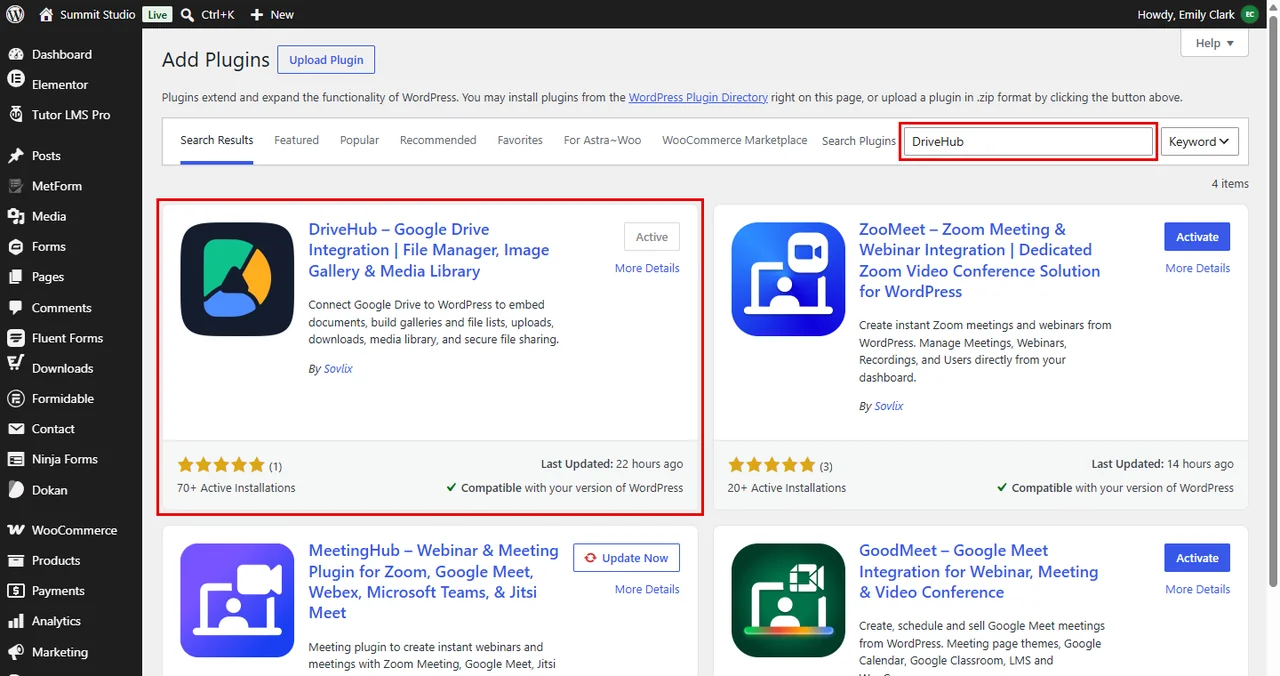
First, make sure DriveHub and DriveHub Pro are installed and your Google account is connected:
- From your WordPress admin, click on Plugins > Add New.
- Search for DriveHub.
- Click Install and then Activate.
- Follow the setup screen to add your Google account.
Read our step by step setup guide to avoid any confusion. To add the Pro add-on, follow how to install DriveHub Pro.
Step 2: Set Up File Proofing (Settings) #
The proofing options are shared by all your Review & Approve modules, so set them once first:
- Go to DriveHub > Settings.
- Click on File Proofing under Features in the left menu.
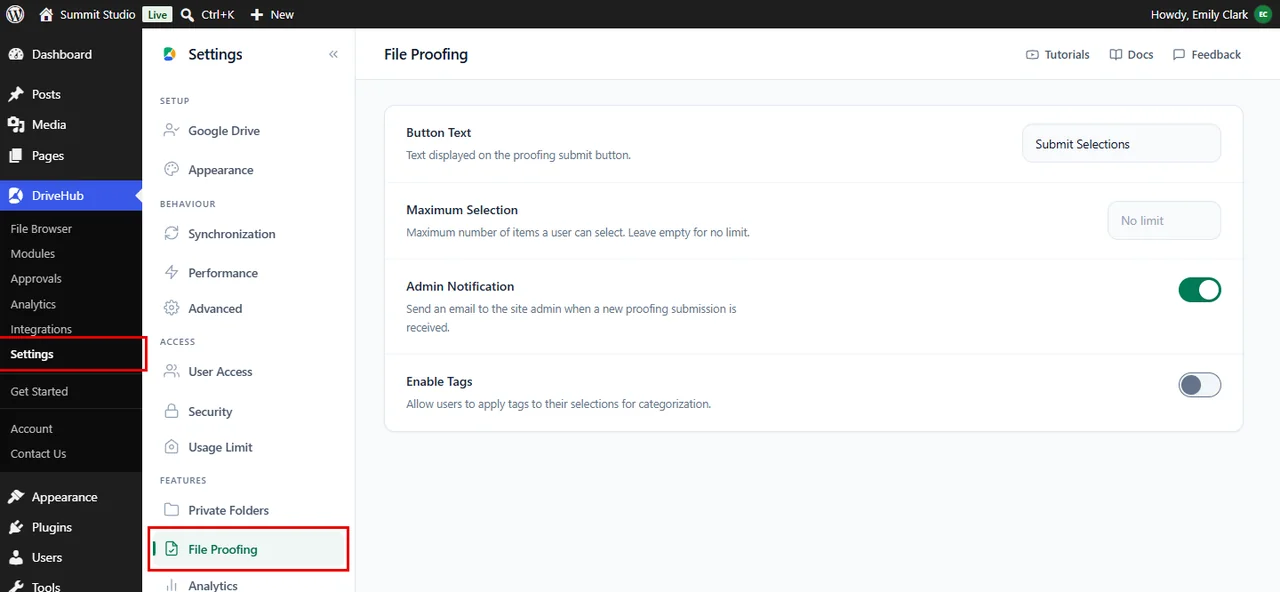
Now fill in the options:
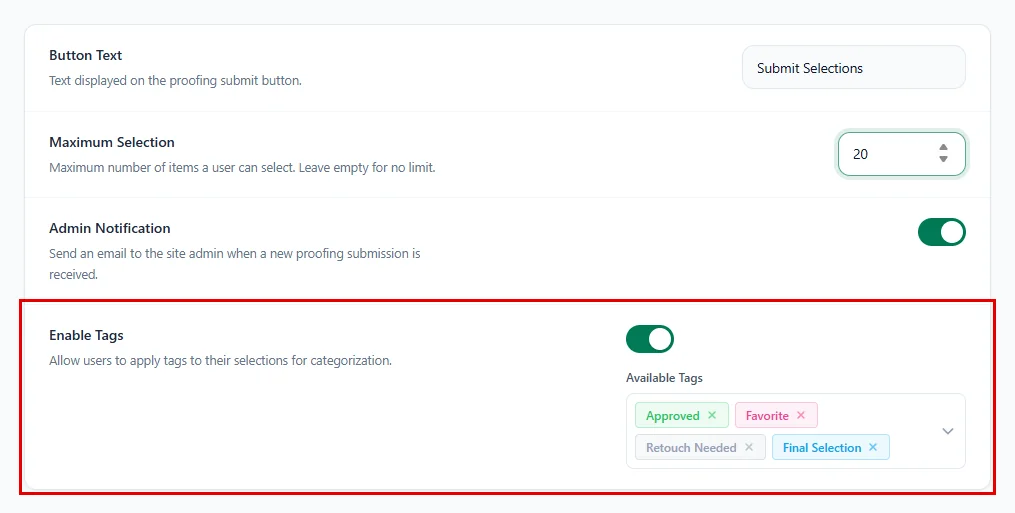
- Button Text: the text on the button clients click to send their selection. Leave it as Submit Selections or type your own.
- Maximum Selection: the most files a client can pick, for example
20for a package of 20 photos. Leave it empty (or0) for no limit. - Admin Notification: turn this on to get an email at your site’s admin address each time a client sends a selection. The email has a link straight to the submission.
- Enable Tags: turn this on to let clients label their selection. Then click the Available Tags box and pick the tags they can use, such as Approved, Favorite, Retouch Needed or Final Selection.
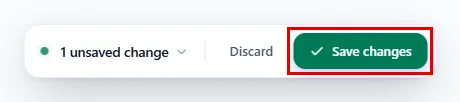
- Click on Save changes in the bar at the bottom of the screen.
Step 3: Create a Review & Approve Module #
Now let’s create the module your client will see:
- Go to DriveHub > Modules.
- Click on Add module at the top right.
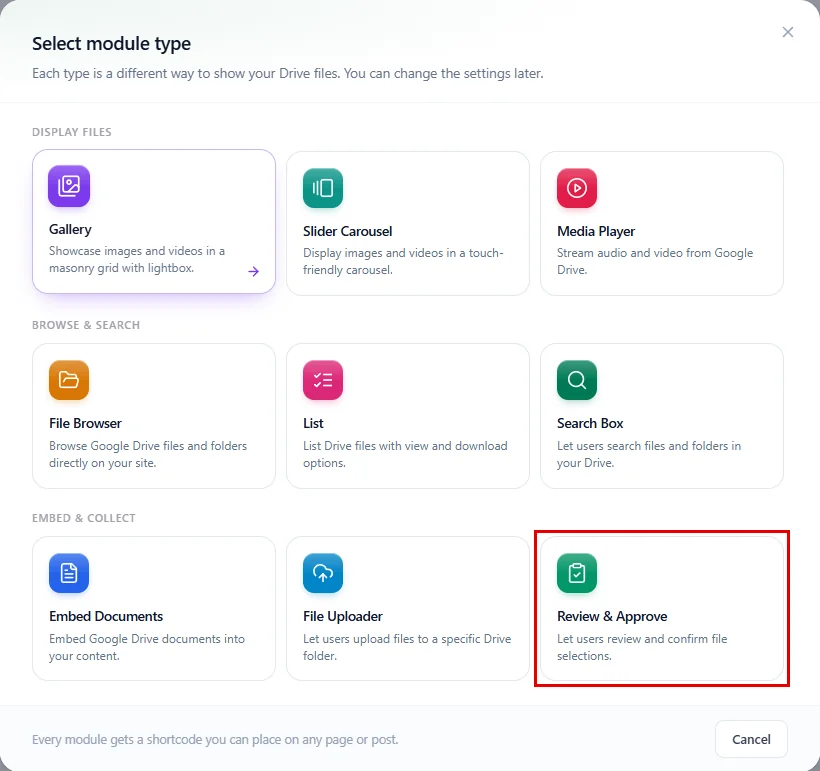
- In the Select module type window, click on Review & Approve under Embed & collect.
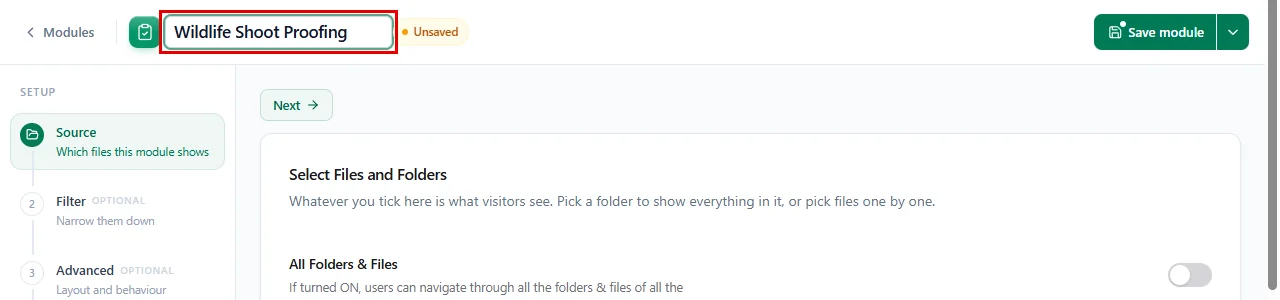
- Click on the name at the top of the editor and give your module a name, for example Wildlife Shoot Proofing.
Step 4: Choose the Photos to Review (Source Tab) #
In this step, you pick the files your client reviews:
- Stay on the Source step (it opens first).
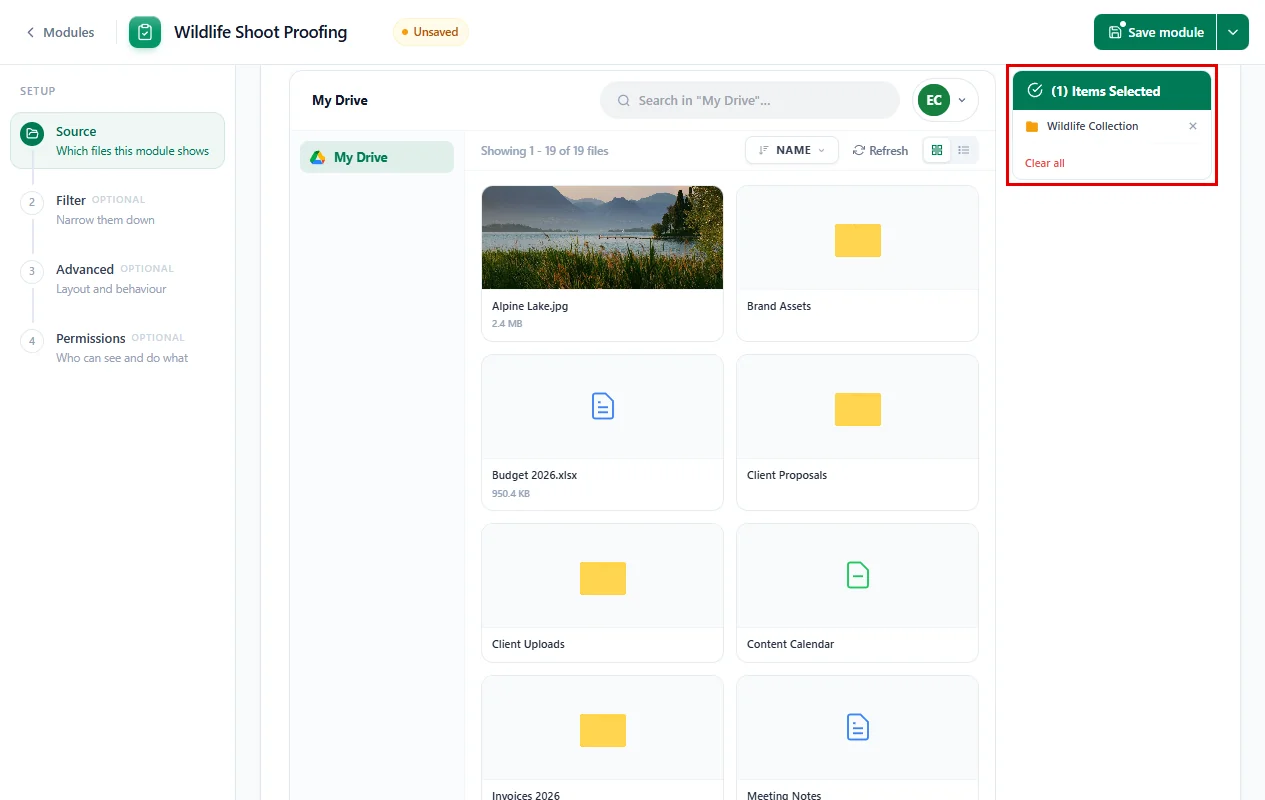
- Scroll down to Your Drive and tick the folder with the photos, for example Wildlife Collection.
- Check the Items Selected panel on the right.
Tip: Make one folder per client or per shoot in Google Drive. Then each client only sees their own photos. If you work with many clients, turn on Use Private Files so every logged-in client sees their own private folder in the same module.
Step 5: Choose Which Files Show (Filter Tab) #
This tab is optional:
- Click on Filter in the left menu.
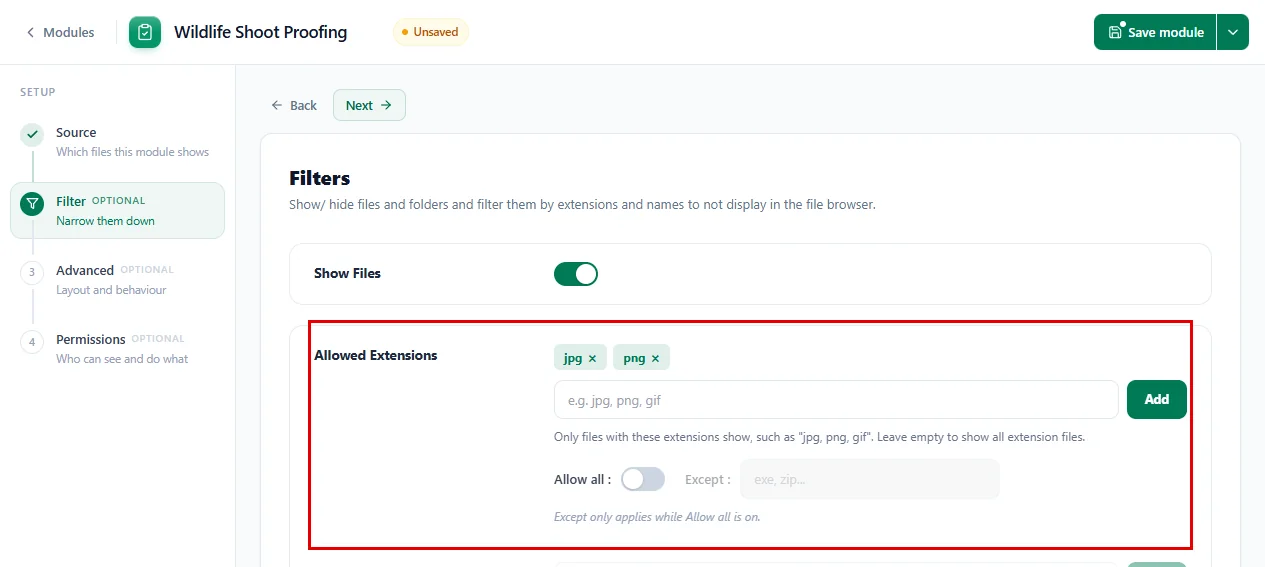
- Allowed Extensions: turn off Allow all, type
jpg, pngand click Add. Now only photos show, and anything else in the folder, like a contract PDF, stays hidden. - Allowed Names and Maximum Item Count work just like in the other modules.
Step 6: Choose How Clients Pick Files (Advanced Tab) #
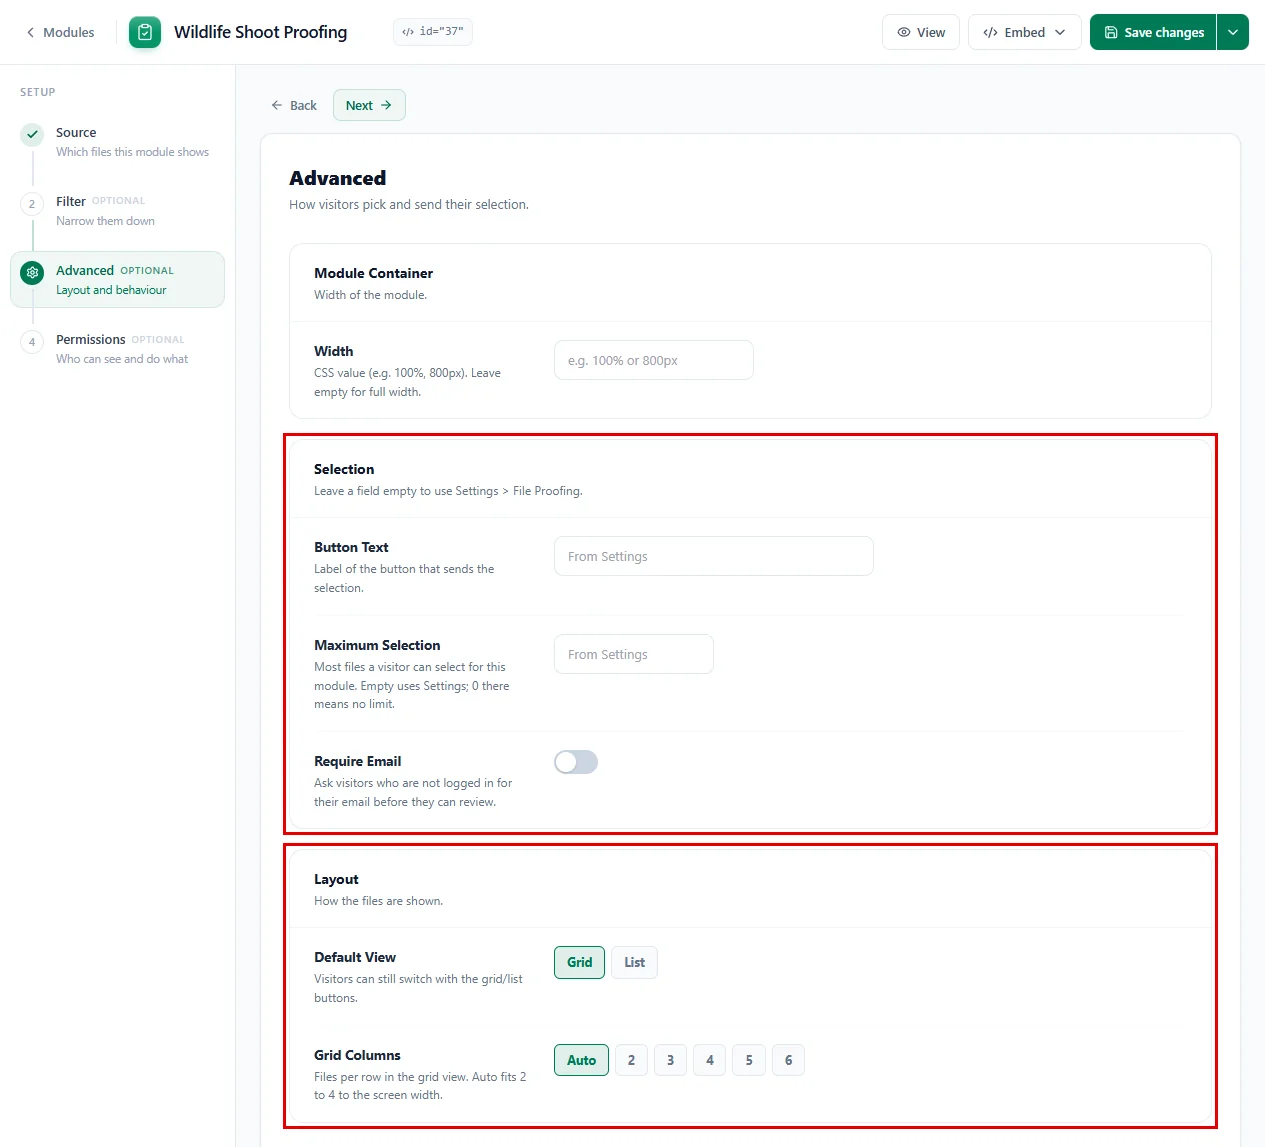
These options are for this module only. Leave a field empty and it uses your File Proofing settings from Step 2:
- Click on Advanced in the left menu.
- Under Module Container, set a Width if you want, for example
100%or900px. Leave it empty for full width. - Button Text: the text on the button clients click to send their picks, for example
Send My Favourites. Empty uses the Button Text from Step 2. - Maximum Selection: the most files a client can pick in this module, for example
10. Empty uses the Maximum Selection from Step 2. - Require Email: turn this on to ask visitors who are not logged in for their email before they see the photos.
- Default View: show the photos as a Grid or a List when the page opens. Clients can still switch.
- Grid Columns: how many photos sit in each row of the grid, from 2 to 6. Auto fits 2 to 4 to the screen width.
Step 7: Choose Who Can Open It (Permissions Tab) #
- Click on Permissions. Keep Preview on so your client can open each photo full size before deciding. Keep Download on only if clients may save the photos.
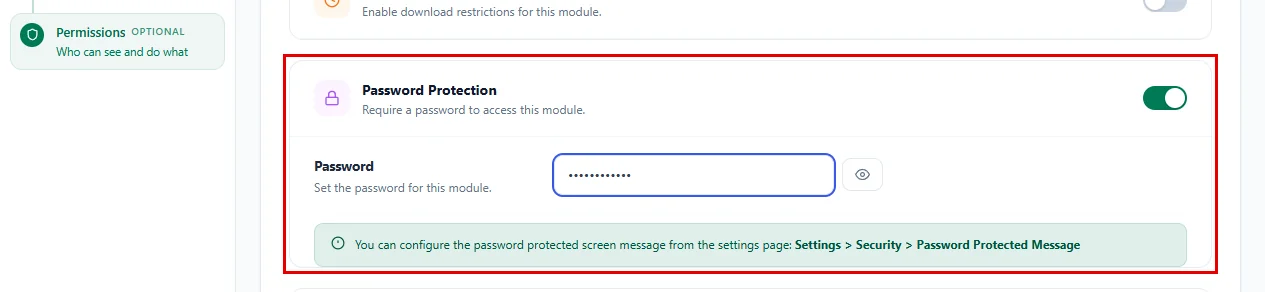
- Scroll down to Password Protection and turn it on if the photos are private. Type a Password and send it to your client with the link.
- Under Visibility, use Display For to show the module to Everyone or only to people who are Logged In.
Step 8: Save and Add It to a Page #
Don’t forget to save your work:
- Click on Save changes at the top right. (On a brand-new module this button says Save module.)
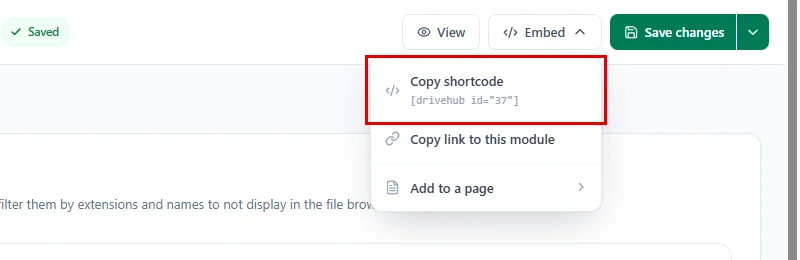
- Click on Embed, then Copy shortcode and paste it into a page, or hover over Add to a page to let DriveHub create the page for you (for example, Photo Proofing).
- Publish the page and send the link to your client.
The List guide shows the Add to a page window step by step.
Step 9: How Your Client Picks and Sends Photos #
Here is what your client sees on the page. Every photo has a tick box:
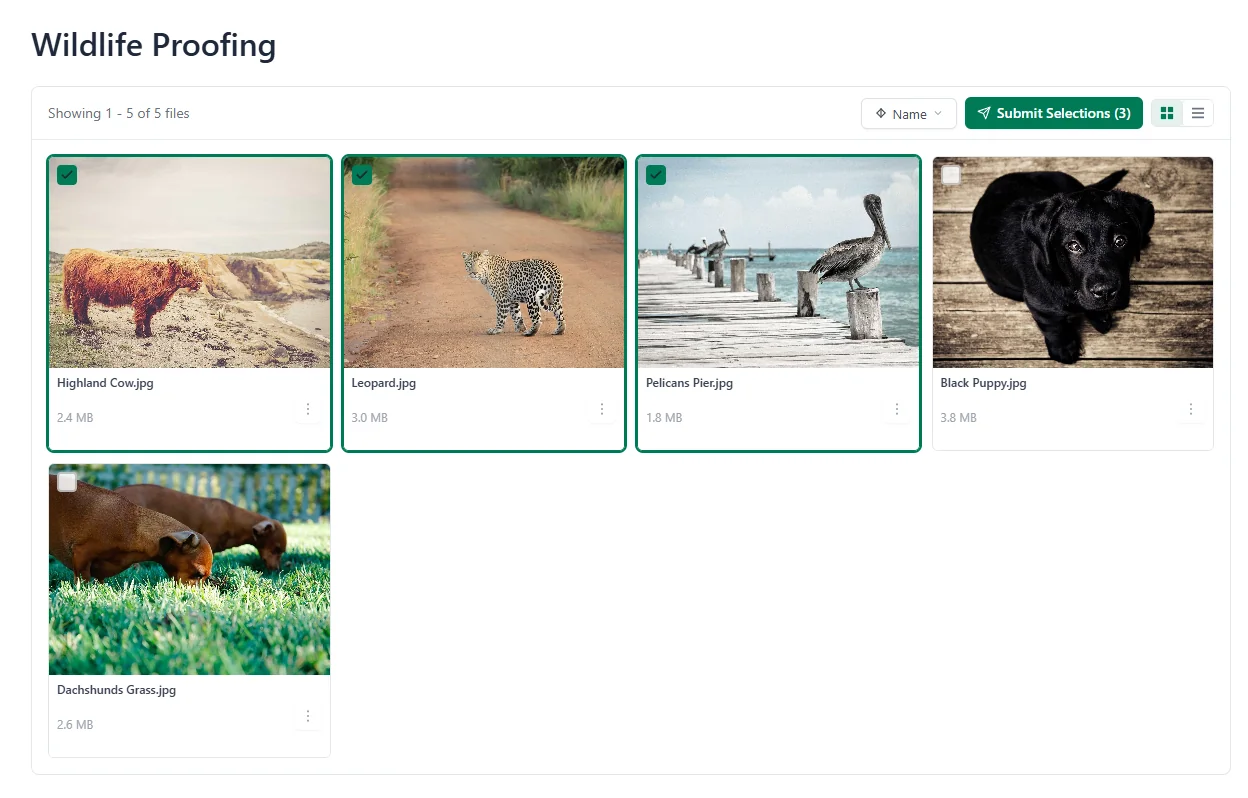
- Your client clicks a photo to view it full size, and ticks the box on each photo they want.
- As soon as one photo is ticked, the submit button appears at the top with the number of picks in brackets, for example Submit Selections (3). It uses your Button Text.
- They can switch between grid and list view and sort the photos at any time.
When they click the button, the Approve Selection window opens:
- If they are not logged in (and you left Require Email off), they type their email address here so you know who sent it.
- They can pick Tags (if you turned them on) and type a message, for example “Please retouch the Leopard photo”.
- They click Approve to send it.
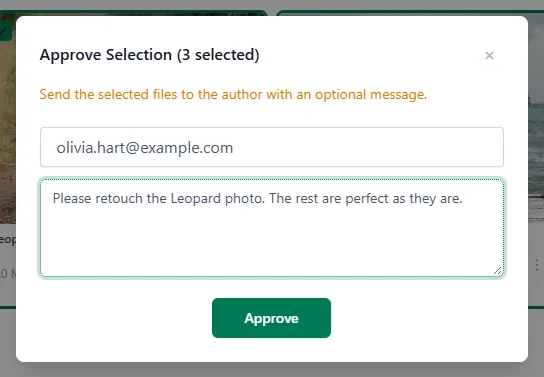
Your client then sees Proofing Submitted, and the selection is waiting for you under DriveHub > Approvals. Our guide on how to review client proofing submissions shows what to do next.
Benefits of File Proofing with DriveHub #
- Clear sign-off: You get an exact list of the files your client chose, in writing.
- No more long email threads: Clients pick, tag and comment in one place.
- Photos stay in Google Drive: Nothing fills up your Media Library.
- Stay in the loop: Get an email the moment a selection arrives.
- Private when you need it: Protect each proofing page with a password or a login.
With DriveHub, collecting client approvals turns into a simple, tidy step of every project.
Related guides:


