Do you want a backup of your DriveHub setup, or do you want to move your settings and modules to another website? You can easily do this with DriveHub.
The Tools screen keeps all the housekeeping in one place: you can save a backup file, bring it back later, clear old cached files when Google Drive changes do not show up, and reset everything if you want a fresh start.
Here is an easy, step-by-step guide to help you use every tool!
Step 1: Open the Tools Screen #
All the tools live at the bottom of the DriveHub settings menu:
- Go to DriveHub > Settings from your WP-Admin.
- Click on Tools at the bottom of the settings menu.
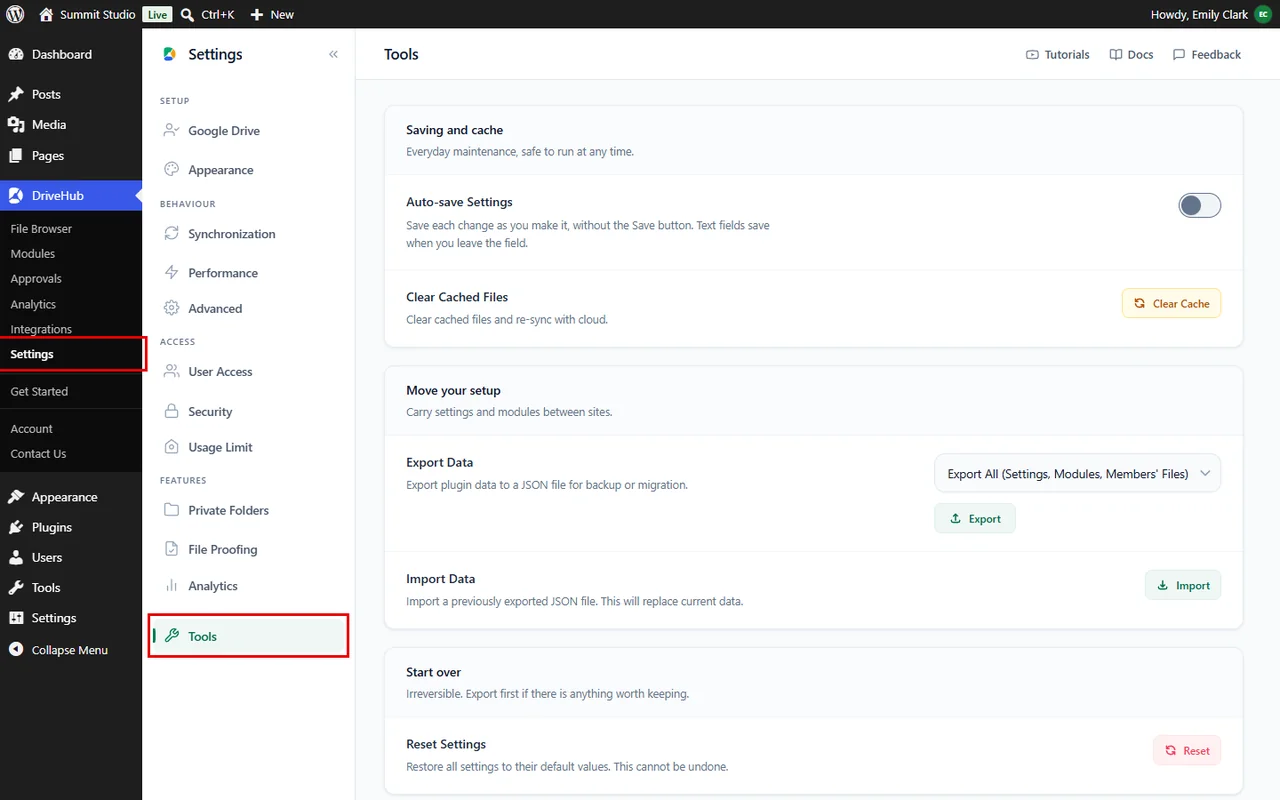
You will see three groups: Saving and cache, Move your setup and Start over.
Step 2: Turn On Auto-save Settings (optional) #
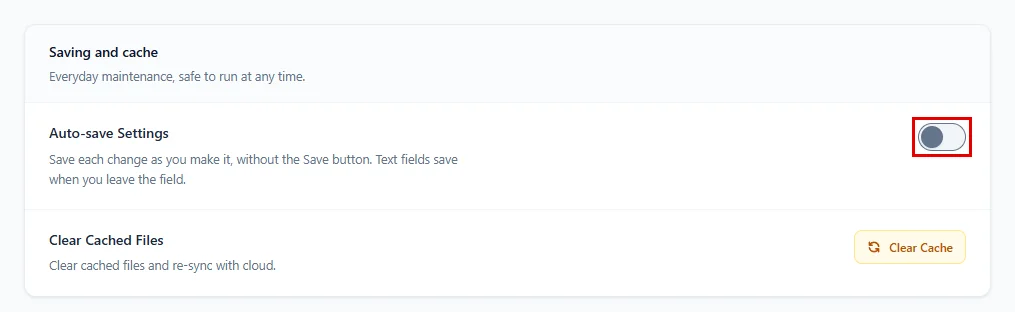
Tired of clicking Save changes every time? The first row in Saving and cache is Auto-save Settings. It is off by default:
- While it is off, a bar appears at the bottom of the screen whenever you change a setting. It shows how many changes you made. Click Save changes to keep them, or Discard to undo them.
- Click the Auto-save Settings switch to turn it on.
From now on, DriveHub saves each change for you:
- A switch, button or dropdown saves about a second after you change it.
- A text field saves when you click outside it, or when you stop typing for a moment.
- The bar at the bottom becomes a small Saving… note, then All changes saved.
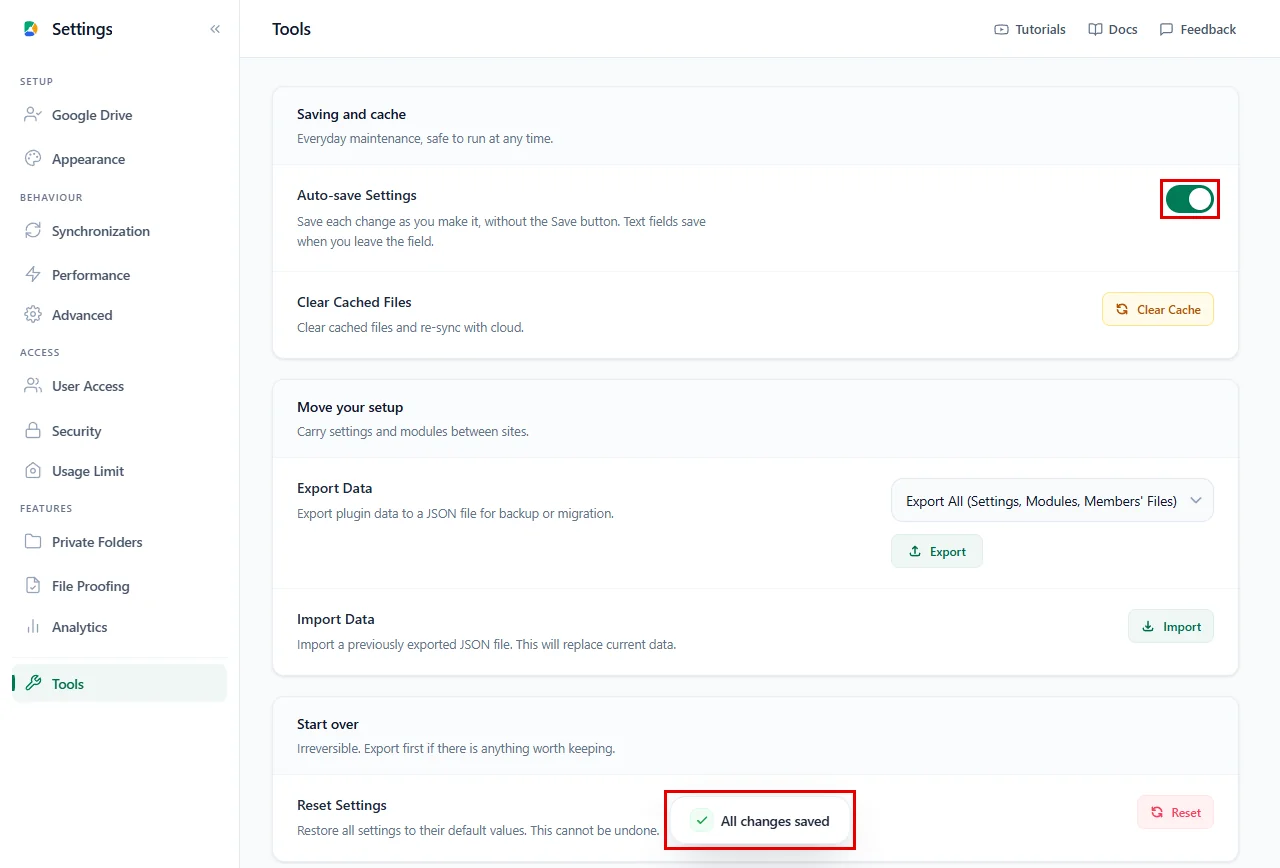
This works on every settings tab. Turn the switch off again any time to go back to the Save changes bar.
Step 3: Clear Cached Files #
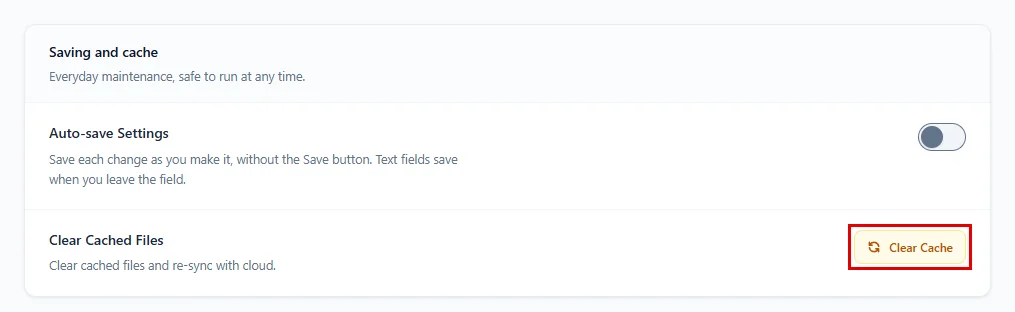
DriveHub keeps a short-lived copy of your Google Drive file lists so pages load faster. If you renamed, moved or added files in Google Drive and your website still shows the old version, clear the cache:
- Find Clear Cached Files in the Saving and cache group.
- Click on Clear Cache.
A small window asks Are you sure?:
- Click Clear cache to confirm, or Cancel to go back.
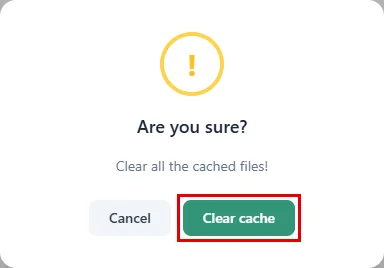
DriveHub shows Cache cleared and re-sync triggered. and loads fresh file lists from Google Drive the next time they are needed. This is safe to run at any time; it does not touch your files, settings or modules.
Step 4: Export Your Data #
Exporting saves your DriveHub setup to a JSON file on your computer. It is a good idea to do this before you make big changes, move your website, or reset your settings:
- Go to the Move your setup group and find Export Data.
- From the dropdown, choose what you want to save:
- Export All (Settings, Modules, Members’ Files): everything in one file.
- Settings Only: your choices from every settings tab.
- Modules Only: all the modules you have built, with their settings.
- Members’ Files Only: the private Google Drive folders you linked to your users.
- Click on Export.
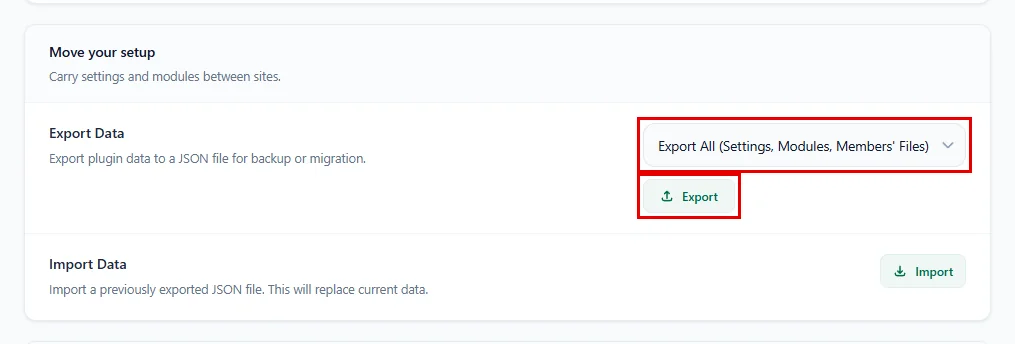
Your browser downloads a file named like drivehub-export-all-2026-10-07.json, and DriveHub shows Export downloaded. Keep this file somewhere safe.
Note: The export never includes your Google Client ID and Client Secret, and your connected Google accounts are not part of the file. On a new website, connect your Google account again from DriveHub > Settings > Google Drive.
Step 5: Import Your Data #
Importing brings back the data from an exported file. Use it to restore a backup or to load your setup on another website:
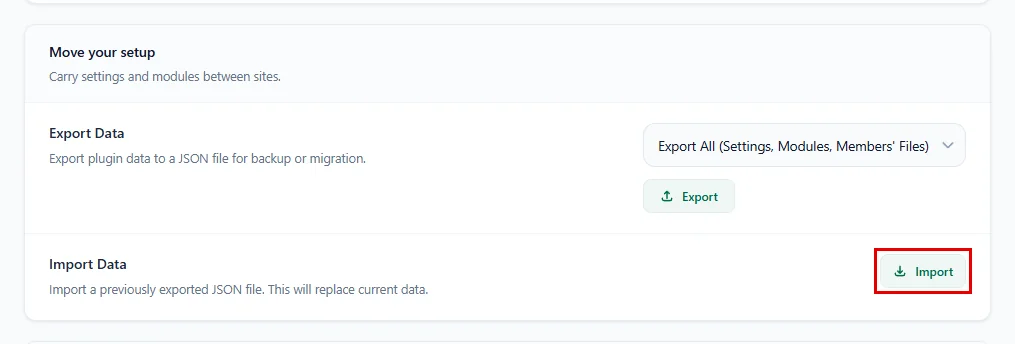
- In the Move your setup group, find Import Data.
- Click on Import.
- Pick the
.jsonfile you exported earlier.
Before anything changes, DriveHub asks Are you sure? and reminds you that the file will replace your current settings and data:
- Click Import to continue, or Cancel to stop.
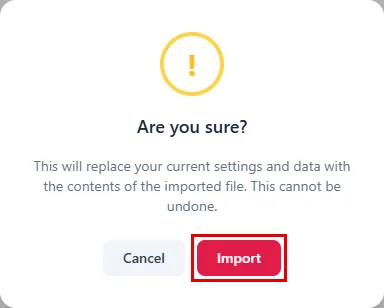
When it finishes, DriveHub shows Import successful. and, when the file has modules, how many were created and updated (for example, Modules: 3 created, 0 updated.). Reload the page and your imported settings and modules appear. This is how you carry your settings and modules to another site: export on the old site, then import the file on the new one.
Important: An import replaces the matching data on this site and cannot be undone. Export your current setup first if there is anything you want to keep.
Step 6: Reset Settings (optional) #
If your settings got messy and you want to start from scratch, you can put every setting back to its default value:
- Go to the Start over group and find Reset Settings.
- Click on Reset.

DriveHub asks Are you sure? and recommends exporting your settings first:
- Click Reset to confirm, or Cancel to keep your settings.
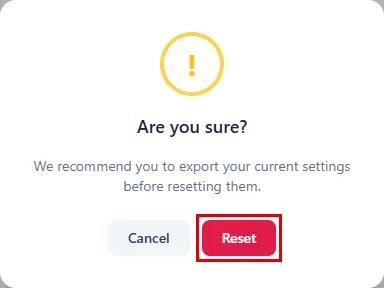
DriveHub shows Settings reset to defaults. Reloading… and reloads the screen. A reset only touches the options on the settings tabs; your modules and connected Google accounts stay as they are.
And that’s it. You now know how to back up, restore, refresh and reset DriveHub whenever you need to.
Benefits of Using the DriveHub Tools #
- Safe backups: Save your whole setup to one small file before you try something new.
- Faster moves: Carry your settings and modules to a new website without building them again.
- Fresh file lists: Clear the cache when Google Drive changes do not show up on your site.
- Clean start: Reset all settings to their defaults in two clicks.
- No surprises: Every risky action asks you to confirm first.
With the DriveHub Tools screen, looking after your Google Drive setup takes only a minute.


